


Hello my crafty friends! Welcome and thanks for popping in!
Today I am joining a Blog Hop to celebrate a milestone birthday of a good friend and fellow stamper, Bronwyn. The lovely Bronwyn has given us six fun themes over six months and this is our third and has the theme 'Inky Blues' as blue is her favourite colour.
My card was inspired by a project I saw in the Stampin' Up! Annual Catalogue. I loved the arty feel of this and wanted to create something similar using Bronwyn's blue theme. The card in the catalogue has been stamped on Designer Series Paper but I have opted for cardstock with a little extra stamping to get some additional texture. I've grabbed Pacific Point, Starry Sky, Coastal Cabana, Balmy Blue inks for my stamping and Pool Party cardstock.

Supplies:
- Stamp Sets: Amazing Silhouettes, Artistically Inked
- Cardstock: Pool Party, Starry Sky, Basic White
- Inks: Balmy Blue, Coastal Cabana, Pacific Point, Starry Sky, VersaMark
- Accessories: Into The Clouds EF, Beautiful Shapes Dies, Basics Embossing Powders (white), Bakers Twine Essentials Pack (white)
- Tools: Paper Trimmer
- Adhesives: Tombow Liquid Glue, Dimensionals
How To Create:
- For this you will need a card base in Pool Party cardstock, a mat layer in Pool Party cardstock that measures 1/8" (3mm) smaller on two side that the card front, 5 (at least) x 1" strips of Pool Party cardstock for stamping the images, a scrap of Starry Sky cardstock for the sentiment. If you feel it's needed, also trim a piece of Basic White cardstock to fit the inside of the card.
- Use the two foliage stamps from Amazing Silhouettes stamp set and stamp the images. For the larger stamp, I used two colours on the same image, on the smaller one I stamp first in one colour then turned and stamped in a second colour. I stamped a few extra so I could have a choice and at the end, I went and trimmed a 1/4" strip from one of these and added it to the inside of my card.

- For additional texture, stamp the flatter watercolour image from Artistically Inked stamp set in 2nd generation ink over these images using the lighter ink colour.

- Trim angles on the ends of each strip so that they roughly measure slightly shorter than the length as the mat layer from point to point.
- Emboss your mat layer using the In The Clouds embossing folder and glue the stamped strips onto this. I love the subtle embossing you get from this folder - it almost makes you look twice because it can easily be missed at first glance.

- Wrap white Baker's Twine from the Baker's Twine Essentials Pack around the lower edge, add Dimensionals to the back and if your worries about getting it in the right spot, add a drop of Tombow to the Dimensionals before placing it down - this will allow time to position on the card front.
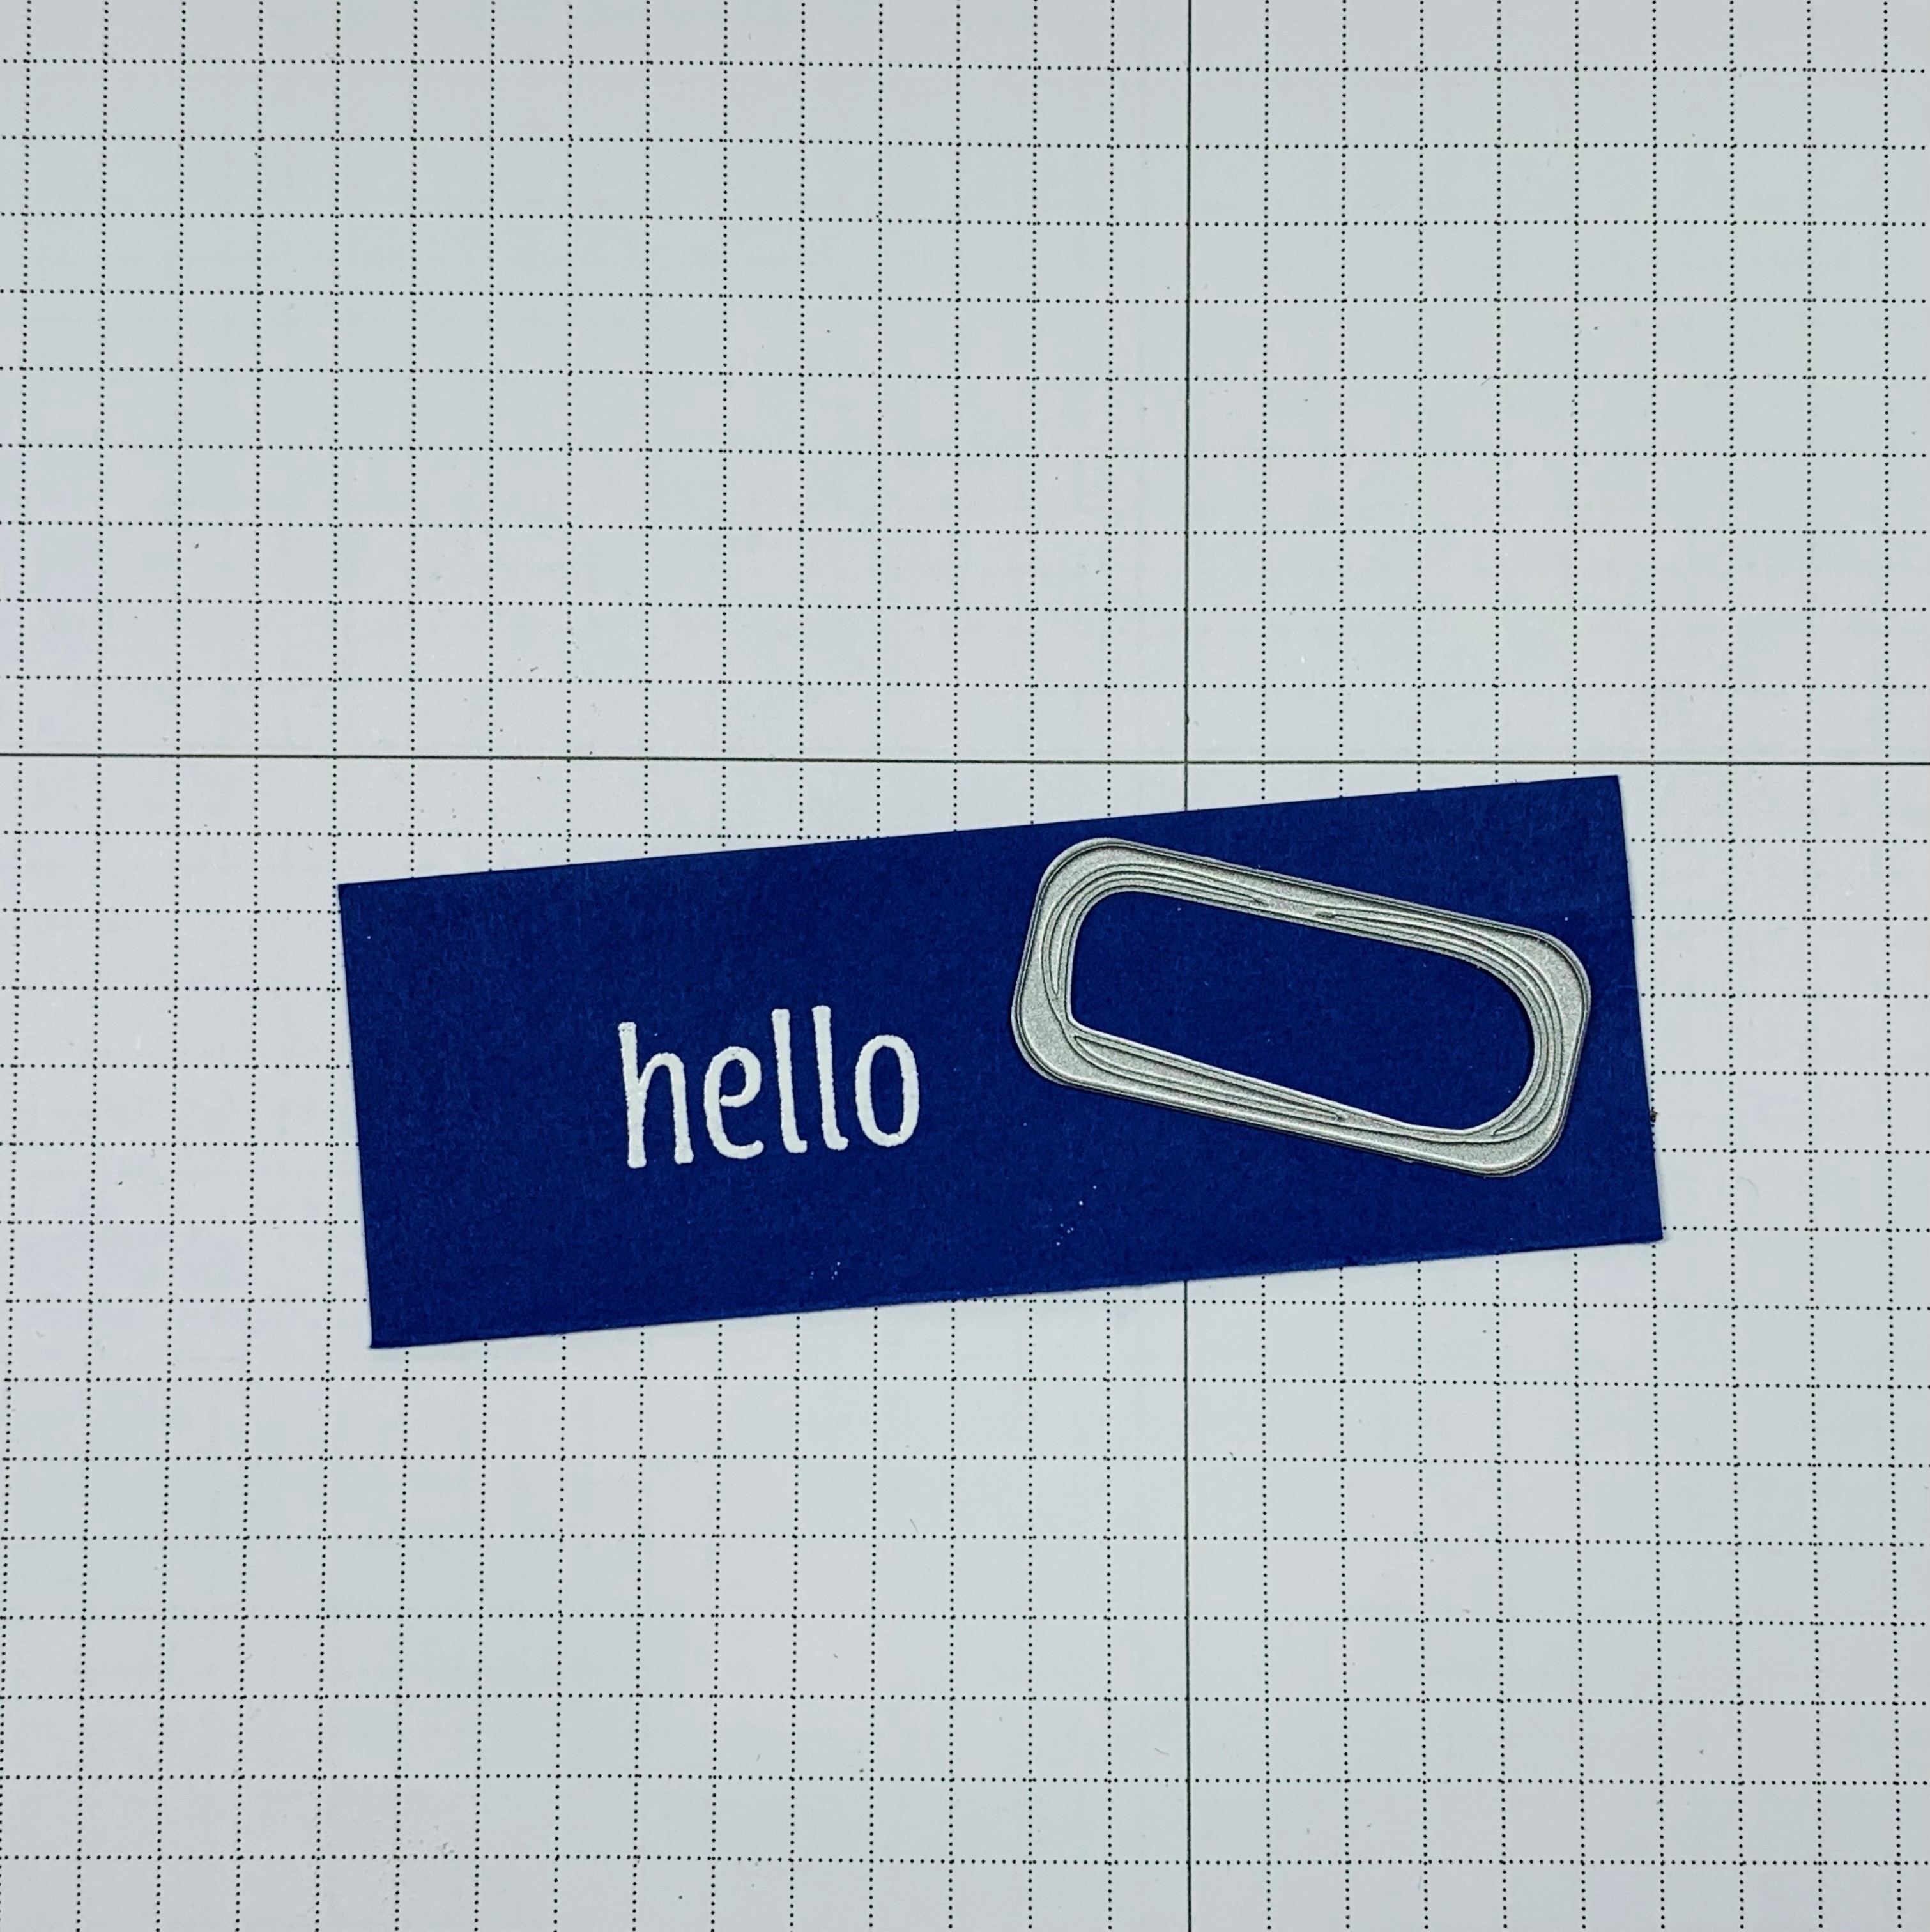
- Stamp the 'hello' onto Starry Sky cardstock with VersaMark and heat emboss with white powder.
- Die cut using the rounded rectangle die from Beautiful Shapes. Add Dimensionals to the back and attach to the front of the card.
- Trim a piece of Basic White cardstock to fit the inside of the card and trim one of the strips down and glue this onto the bottom edge of the white cardstock. Glue this to the inside of the card.

I can't wait to go and check out everyone else's projects and I invite you to continue on with the Blog Hop and be inspired. Coming up next is the fabulous Leonie Stuart and I'm looking forward to seeing what she has created.


.
Product List


Such a creative technique, so clever and absolutely striking! Thanks for the graphics for the Hop.
ReplyDeleteThanks so much Bronwyn! Happy to help any time x
DeleteA lovely card Monica. The subtle embossing of the background panel is delightful and I love the artsy colours & stamped strips. Andrea x
ReplyDeleteThank you Andrea! Love playing with stamps and colour this way.
DeleteThis is such a creative way to use the blues together, Monia. Love the moody, arty feel you have captured on your card.
ReplyDeleteThank you Cathy! It was fun to create.
DeleteNow that is one very stylish, very sophisticated, very beautiful card! So moody and so wonderful.
ReplyDeleteThanks so much Jan. Love combining colours and stamps to see what happens next. x
DeleteThis stamp set inspires wonderfully arty projects and this is a great arty example. Love the embossed sentiment that pops and subtle bakers twine.
ReplyDeleteThank you Chantell! It was amazing to see how the images evolved.
DeleteWOW - you are the master of artistic cards!! I love the gorgeous textures you've created with the layering of stamping and the stunning colour combination! Always inspirational!
ReplyDeleteThank you so much for your lovely words Julia! I love experimenting with colour and stamps. x
DeleteSuch a fab arty card Monica. Thanks for the details. Love the extra 2nd generation stamping over the top. So effective.
ReplyDeleteThank you Lou! I felt it definitely needed that extra stamping and was happy with the end result. x
Delete